Sewing Room Valance
I finally finished the valance for the window in the sewing room/guest room. I've been working on this/putting it off for weeks. The lower fabric was pieced together from the remains of the old cushion cover that I used to make my sewing machine cover.
The hardest part of using fabric from covers or other projects is ripping out stitches. TEE-DEE-US!
I basically cut the patterened fabric in to 7'' strips and pieced them together until I had 80'' long. The top fabric was already 80'', so I folded it in half, sewed an anchor stitch to go above the curtain rod, and sewed the other fabric to the bottom. Lots of long strips of sewing straight lines. And with all the ironing between makes it a tedious project, but not difficult.
The problem came when I wanted to hang it. Right now I'm seriously into "Don't buy anything new. Just use what you have." I had this expandable curtain rod that my sister gave me that I used over the closet for a while. Unfortunately, it doesn't quite expand far enough to reach across this 40'' window.
So I got creative.
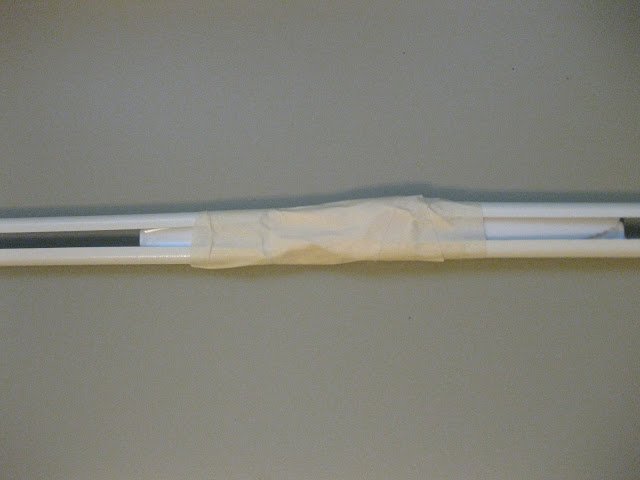
I grabbed three plastic knives. My intent was to extend the bar by a 2-3''.
I stacked them and stuffed them like so:
Then I taped it up really good.
Zane helped me put the valance on the bar and hang it. The knives worked well to extend it, but they weren't very stable, so it sagged in the middle.
This frustrated me. We took a break for dinner, even though I really wanted to finish my project. I get in the zone during projects, and even my stomach's neesd are put aside. However, since Zane was hungry too, I couldn't neglect my family (good lesson for when Daisy comes).
After dinner, I pulled out my craft box and found an old wooden ruler. After finding three more rulers (no shortage at our house!), I felt okay using this one for my valance project.
I taped it very tightly and flat over the knife-taped middle of the rod. The ruler extended far past the gap, so it provided a lot more support for my curtain rod.
Then I re-threaded the rod into my valance. It's pretty snug tight around the ruler section, but I was able to scrunch the fabric enough to make it look just fine.
Zane helped me hang it again, and voila! It's straight!
One step closer to finishing this room! Once I have the sewing chair finished and a couple pictures on the wall, I'll give you a full before-after tour of this room. Daisy's room has a little farther to go.
Total cost: $0! Everything was given to me or purchased last year. I think the fabric for the valance was $4, and I used it for two projects.


Comments