Upcycled TV Stand to Play Kitchen
Ever since I first saw this idea, I've wanted to do it. Take an old piece of furniture and make it something beautifully useful in a different way than it's first intended purpose. I immediately created a pinterest board just for DIY play kitchens.

It took me about a year to finally do it. I made this one for my daughter who will be 18 months at Christmas. She's probably at the youngest age of truly enjoying it, so she might not freak out on Christmas morning (she still doesn't understand Christmas), but she can enjoy it for years to come.
Total approximate cost: $30.00
Total approximate hours of labor: 14
My super handyman dad and I did it on the weekends over several weeks. I did the planning, he provided the tools and expertise, and we both did the work.
1. Acquire a piece of furniture. Most of the tutorials I saw online used nightstands. I looked for the right nightstand, but I kept coming back to the door thing. I really wanted a cabinet door, so I kept looking until I found this TV stand on Craigslist for $10. Done.

2. Oven Hinges. The first thing we did was take off the left door and remove the hardware. We added hinges to the bottom. My dad had small hinges in his collection of stuff from the beginning of time, so that was $0.00 for me.

The door had a magnetic latch on the inside. We moved it to the center of the "oven door," so it could still magnetically keep the door closed when in the closed position.

2. Sink Basin. Next we measured and cut the hole for the sink basin.

I bought a metal brownie pan (sink basin) from the thrift store for $.80 and a "J" (sink faucet) at the craft store for $2.49.

3. Divider Wall. We cut a small square out of plywood to be the divider wall between the oven and cabinet. We nailed four small blocks to the plywood board and screwed those blocks to the upper and lower shelves of the TV stand.

4. Backsplash. The TV Stand came with a swivel top (shown in the "before" picture). First thing we did was take off the swivel top and discuss different ways to use it. We considered drop leaves, but settled on using it as a backsplash. We had to fill in existing holes with wood filler. Once that dried, we added a little shelf to the left side of the backsplash that will be over the stove part of the counter.

Then we attached the backsplash to the kitchen using three sturdy wooden panel/stick things screwed to the back. (As you can see, I'm using my carpentry lingo).
5. Hardware. I bought a bag of wooden wheels from the craft store for $4.00 for the oven and sink knobs. I went back and forth about different options, but the wooden wheels ended up being $.50 each, so they won.
 |
| Hardware and structure done. Ready for paint! |
6. Primed and Painted. I used the paint leftover from painting my bathroom earlier this year. I purchased acrylic craft paint for the detail-painting on the stove, oven and sink faucet for about a dollar each.
 |
| Starting the first burner on the stove top (that black blob) |
This was a faux-wood TV stand, so we had to sand the finish off, then prime it for the paint to stick. My dad sanded and primed the whole thing, and he said it took him about an hour and a half, because he has a fancy schmancy sander.
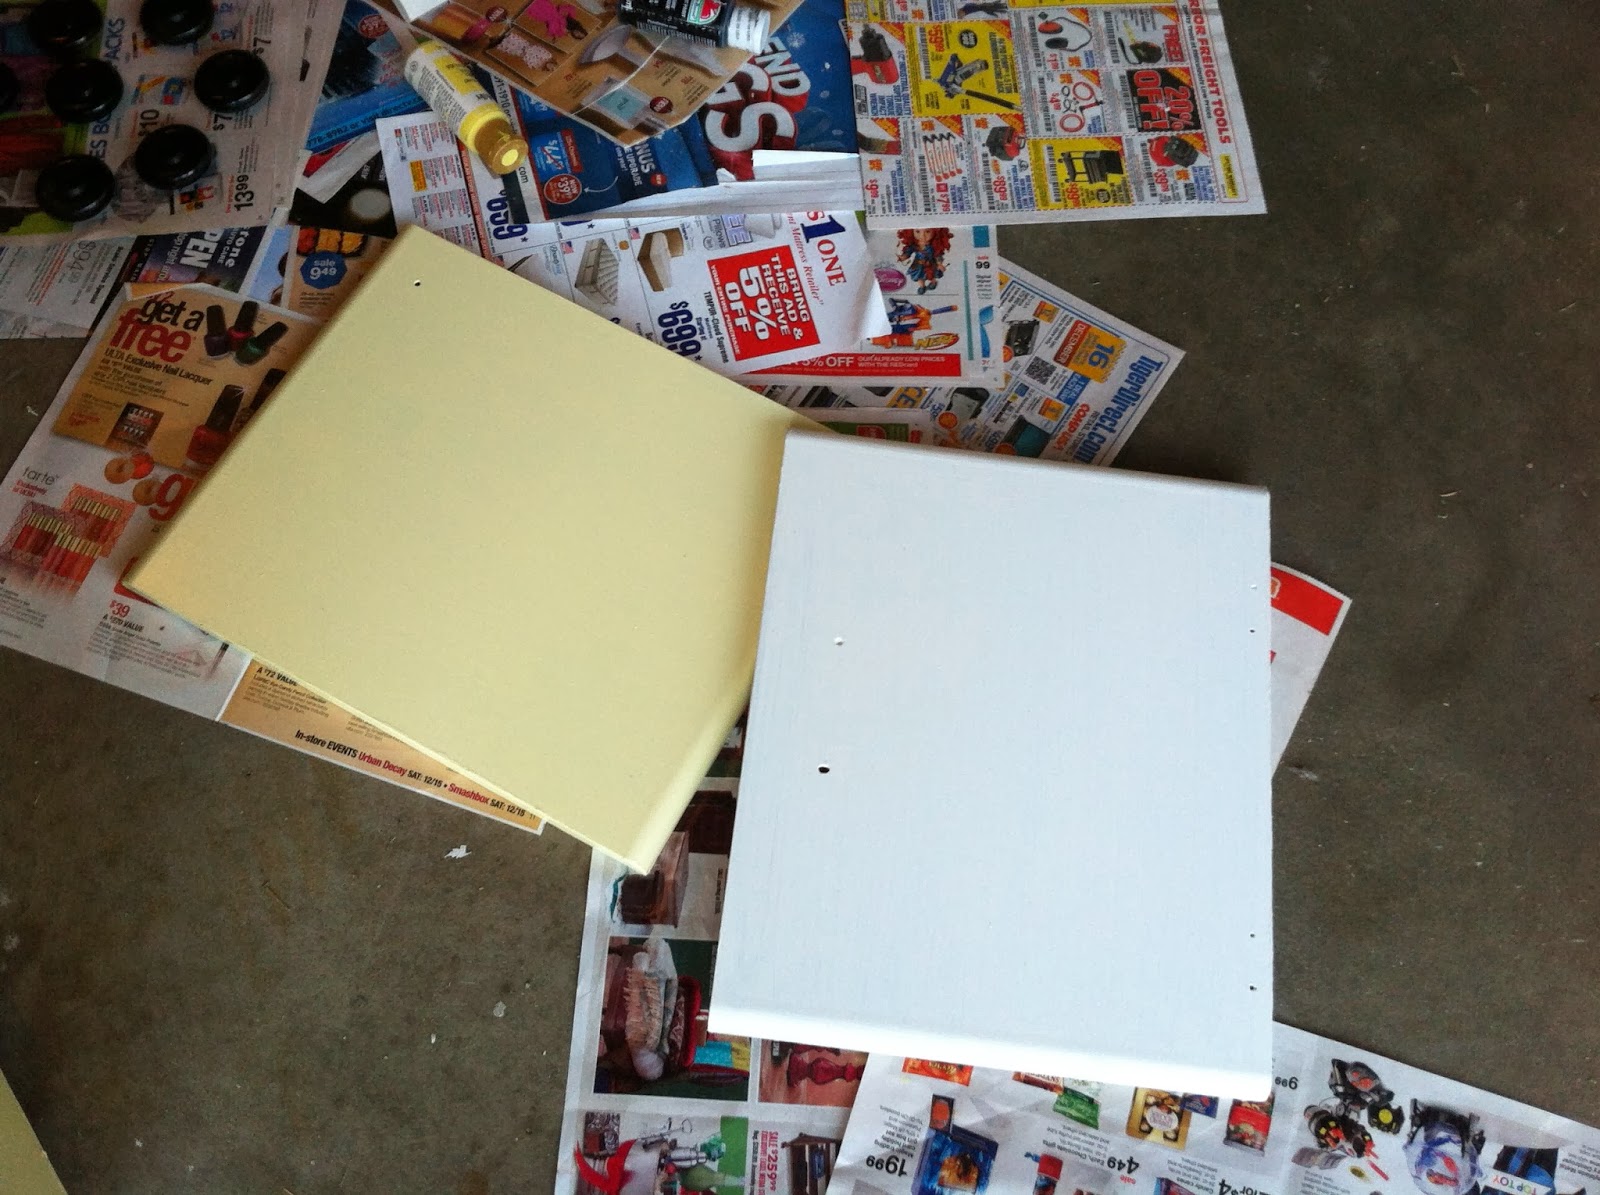 |
| Future oven door and cabinet door. |
Painting it took me 3-4 hours with multiple coats. I spray-painted the knobs and used a brush on the rest of it. A few days after it dried, my dad sprayed a satin finish polyurethane top-coat over all of it.
7. Curtain. I have lots of fabric leftover from Etsy projects and hand-me-downs, so I used some scraps to make a double-sided curtain. I adhered it with velcro, so it can be changed and washed easily. Plus, it gives the kitchen two different looks.

I also bought one special pretty cabinet knob for $4.00 for the cabinet. That was my one splurge in this entire project. I'm sure you can see why - it's so cute!

The final product:

Each of these steps included several sub-steps. This is just an overview of the job, but I've found great detailed tutorials online if you're thinking of taking on a similar project. Check out my DIY Play Kitchen board on Pinterest for more inspiration and tutorials.

Those cabinets are empty right now, but on Christmas morning, Daisy will open gifts from her aunts and grandmas to fill this kitchen up! Everyone's giving her kitchen-related toys. I can't wait for Christmas morning!
Comments